Understand what the pan needs to do
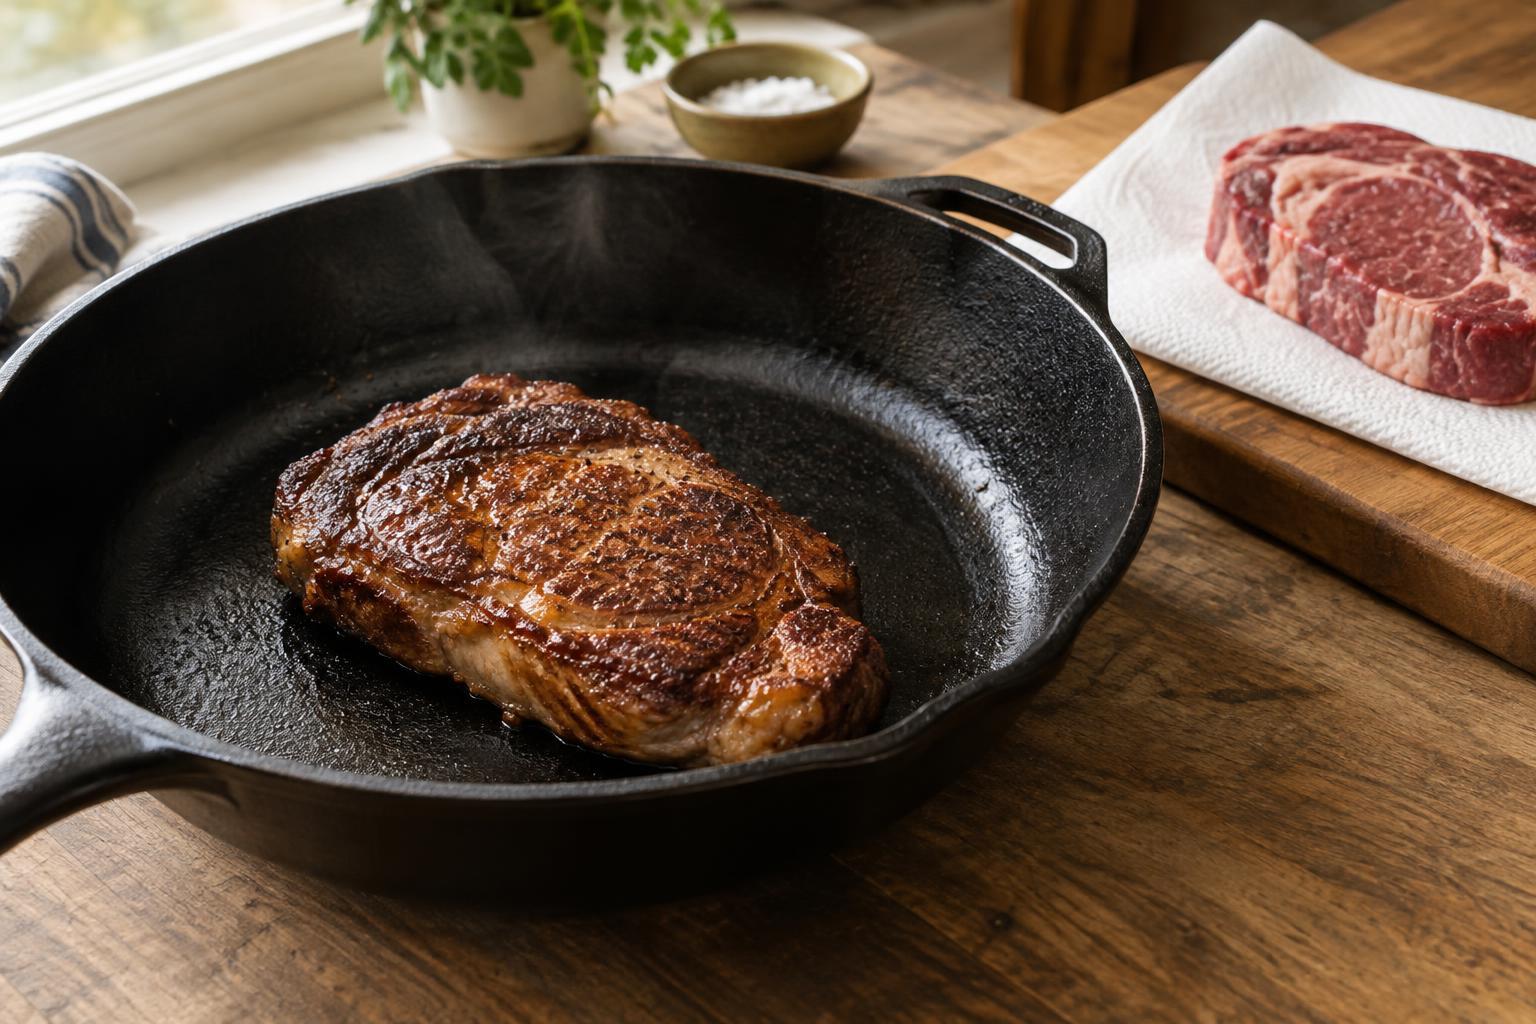
Searing works best when the surface of the meat becomes hot enough to brown. Before that can happen, moisture on the surface must evaporate. If water collects in the pan faster than it can evaporate, the meat sits in hot liquid and steams instead. The result may still be cooked through, but it will have less of the flavorful crust you were aiming for.
A sear does not seal juices inside meat. Its main job is to create a browned exterior and contrast with the interior. That distinction helps when planning the rest of the cooking: a thick cut can be browned in a pan and then finished more gently, while a thin cut may cook through during the sear itself.
Start with a dry surface
Pat the meat thoroughly with paper towels, including its edges and any folds. This matters even when the meat looks dry at a glance. If it has been sitting in a marinade, lift it out and wipe away excess liquid and loose bits that might burn. You can serve a suitable sauce alongside the cooked meat rather than relying on a wet coating to season the pan.
Salt adds flavor, but timing can affect surface moisture. Salting well ahead of cooking gives moisture time to move and the surface time to dry again, particularly if the meat rests uncovered in the refrigerator. If you are cooking right away, salt just before the meat goes into the pan. Either way, blot away visible wetness before searing. Keep raw meat refrigerated until you are ready to prepare it, and clean any surfaces and utensils it touches.
Give heat and steam room to work
Choose a pan with enough cooking surface for the pieces to sit in a single layer with space between them. A heavy pan can help because its temperature is less likely to drop sharply when cold meat is added. Heat the pan first, then add a thin film of an oil suited to the heat you plan to use. The oil should move easily across the pan; if it smokes aggressively, lower the heat.
Crowding is a common reason a sear turns into a simmer. Meat releases moisture as it cooks, and a full pan gives that moisture fewer clear paths to escape. Work in batches rather than squeezing in one last piece. If the next batch goes into a pan with browned residue, check that it has not turned black; wipe out burnt bits and add fresh oil if needed. Batches take longer, but each piece has a better chance to brown.
Let the crust form before moving the meat
Set the meat in the pan and leave it alone long enough for the contact side to brown. Moving it repeatedly interrupts that contact and can tear a forming crust. When the surface is ready, it will often release more easily from the pan. Use tongs to turn it, rather than pressing down with a spatula, which can squeeze out juices without improving the sear.
Adjust the heat as you go. A pan that is too cool may allow liquid to pool; one that is too hot may scorch the outside before the center cooks. Listen for a steady sizzle and look for browning rather than a dark, bitter coating. If you see a shallow layer of liquid gathering, remove some pieces and let the liquid evaporate before continuing. You can return the meat to the pan once it is ready to brown again.
Finish according to the cut
For a thin piece, a short sear on each side may be all the cooking it needs. A thick steak or chop may benefit from a strong initial sear followed by lower heat or a move to the oven, so its exterior does not burn while the center finishes. A thermometer is a more reliable way to check doneness than color alone; use a food-safe target appropriate to the type of meat you are cooking.
After cooking, give larger cuts a brief rest before slicing so their juices have time to settle. If you want a pan sauce, make it after removing the meat: pour off excess fat, add liquid deliberately and loosen the browned bits. That turns moisture into part of the finished dish rather than letting it interfere with the crust. The guiding sequence is simple: dry surface, uncrowded hot pan, patient browning, then a finish suited to the cut.